Pages

Showing posts with label paint. Show all posts

Wednesday, June 24

Sid Strikes Again!

My family is incredibly handy! my mother has sewn for me since I was a child and still keeps busy with her own monogramming/sewing business and my "pro bono" work {just wait until you see the nursery & new bedroom to do list}. My father has been a part of building every house we've ever lived in and crafts everything from picture frames to amazing cutting boards & trivets to stunning furniture.

In every room of this house lives a piece created just for me by Sid...most recently my new bathroom vanity. I loved a Kohler vanity that I saw at the Ferguson's show room here in Atlanta. Only a few problems...1) it had a very large single door {24" swing}, 2) it only came in dark, dark brown & 3) it had some very interesting wooden decorative blocks on the legs.
this is what I liked from Kohler
For the bathroom we had some criteria we needed to keep {thanks to Carrie the Great aka one of my besties who happens to me an amazing designer} was a narrow sink so that things didn't start feeling too big in a small bathroom. That pretty much leaves two choices...pedestal sinks {which Joe detests} or long narrow beautiful $2500+ sinks {out of budget for baby & guest bathroom at Greenview}.

Sid made tweaks to the Kohler vanity to customize it to our liking! Two divided doors with slow close hinges {picture a 3 year old boy slamming the bathroom vanity doors}, no decorative leg do-dads and custom color job! I did the painting {ugh} but it was actually a great experience!

Graciously, Sid delivered the vanity sanded {phew} and ready to paint! I went to the Benjamin Moore store with my color cards that Carrie & I had chosen a week or so prior. My goal was to get paint that would be able to handle the wear that is offered in a bathroom of this sort. I also needed it to go on nicely for a non-patient painter {who me?!} and easy to clean up.
As you can tell, Stormy Monday was the color selected
Oil paint with the VOC limits plus clean up was out of the question. Latex didn't seem to be right so we went with the Benjamin Moore Advance. Paints like an oil {long dry time} but cleans up like a latex {soap & water} & isn't nearly as strong smelling as oil. I had read some mixed reviews. Here goes my take on it & what I did.

1) Sand {thanks Sid} Best advice is have someone else sand for you :)


2) Get your tools:
--Brush: I'm the daughter of a Purdy brush lover. However BM doesn't sell those at our store in ATL. I got a Wooster Silver Tip 1.5" angled brush. It was nice to have a small brush--all of mine are 2"+ used for bigger items I've painted in the past.
--Roller: I purchased the Jumbo Wooster Red Feather rollers. They're pink so that was a perk and the guy at BM obviously gathered from our conversation that I'd love these! Apparently they are also the best and the $1 difference between all the rollers at BM, I was willing to "splurge"
--Tray: Typically I think this is a waste of $5 but call me a sucker I got one. I don't know how I would have done the roller without it. I think that I would have used more paint {wasting}
--Other items: You need some ziploc bags to put the brushes into in between coats so that you can put them in the fridge. If you do this, you don't need to clean up in between each one! Also, foil...after you use the paint tray (or even before the 1st time) you can make your own liners for your paint tray so that you don't need to buy 5 of them! Don't forget a drop cloth as well...make sure its about 2x bigger than you think you need it because somehow those droplets of paint tend to get on everything!
--Protection...please keep in mind that painting when pregnant is frowned upon without proper ventilation and protection. Always wear an respirator {not just a small "coffee filter" mask} to avoid inhalation of fumes that are toxic. The Advance paint is low VOC but not zero like many other BM interior paints.


3) Prime: I used BM Sure Seal Latex Primer. One coat. Per the guy at BM...thin is best. You can always sand down a little bit here and there and do a second coat if needed. The Advance has a priming agent in it, but since there was fresh wood...we didn't it to be too thirsty or cover oddly.

4) Paint...slowly...breathing deeply without rushing: I know it sounds crazy but take it from an impatient person when I say...just breathe. Trust me, its a lot easier said than done {especially when you're wearing a respirator} but it made all the difference in the world. The BM Advance paint is meant to dry slowly and help self leaven/cover brush strokes.

Apply very, very think layers of paint. The BM man said he'd rather see three thin than two thick coats. Two is what I did. This paint takes A LONG TIME to dry but at the same time doesn't like to be touched very much. Paint a small area (ex. front of the cabinets) but don't keep going back over the paint and touching what you've already done with the brush. After about 3-4 minutes, the paint already looks tacky/drying. However just like oil paints, the paint time in between coats is 16+ hours.

I cut in the corners of the doors and areas where the legs came together with my brush. Other than that, I rolled everything {very new concept for me}...I did go back with my brush and very lightly and quickly touched up as needed. I also would be very good about catching drops or runs...those are the worst to have to go back and sand.

After 24 hours of drying I would come back (after prime & coat 1 & coat 2) with a piece of 150 grit sandpaper. Any imperfections I saw, I sanded. I did two full coats and then my final was a touch up to two or three small areas that were a little bit more rough than I wanted them to be when it was done.
do not freak out...this is part of the normal drying process!
after stormy monday coat #1
inside of cabinet doors coat #1
vanity coat #2, door fronts coat #1
The bathroom is still under construction but I'll be showing you this when the tile is up and the room is painted! More to come on this fun project! 

Saturday, December 21

Sunday, December 8

frame remodel with rub n' buff

we now have two mirrors in our house that belonged to joe's family that we are so grateful to be using! the one over our sideboard in our entryway as well as the one now over our dresser in our bedroom. 

the newest addition in our bedroom is a beautiful round gold mirror embellished with flowers. on either side i was hoping to find some very thin gold frames that were 8x10 and then do some mats inside them with black & white photos. 

while i could not find gold frames that were not too tackily shiny or too chunky, i found thin wood diploma frames at hobby lobby (40% off $4.99) and learned from Our 5th House about the use of rub n' buff! these turned out awesome!!!
$4.99 frames from hobby lobby in a wood finish always 40% off
i did not sand or prep the frames at all. 1st coat of gold leaf color rub n' buff applied with an old rag t-shirt. then i waited two hours and went back with my fingers and came back over some places that were not covered as well. the final step is to buff off with a clean rag to get that buffed look. no sealant needed for things like this! more photos to come when they are finished and up on the walls!!! 


Tuesday, November 19

china cabinet refresh!


I cannot contain the excitement on this one! We were gifted 1960s Ethan Allen yellow furniture a few years ago and have enjoyed its classic craftsmanship. In researching about the pieces, I came across a really cool newspaper ad from July 20, 1960 which you should look at too just because old newspapers & prices are fun to see! Lawrence Journal 1960

Our modular pieces were two full size dressers, a corner desk & chair, and two small hutches with a single drawer & double door cabinet underneath. In the past these daffodil [read: yellow] hutches graced our living room and dining room. We recently replaced for art in our living room but the china still needed a home in our dining room.


After successfully having a blast with the Annie Sloan chalk paint in the kitchen, I knew I would take on the challenge...painting over the yellow and modernizing this piece for us! The true test for the ASCP was the laminate top. I had been given tons of advice from many people...do not paint this or it will be ruined...sanding, stripping, and all sorts of other chemicals were involved in getting the laminate seal off the top of the dressers.


With zero prep work (I did wipe down the furniture with a damp paper towel ha) 2 coats of French Linen ASCP, 1 coat of clear wax, 1 coat of dark wax glaze (equal parts dark wax & non-enviroment friendly mineral spirits) later we have success!!! The back of the cabinet I antiqued in Old White (2 coats as well) with the clear wax and dark wax glaze. I certainly would not recommend the dark wax glaze if you're the perfectionist or want a solid matte color. However for the purposes of this piece it turned out so awesome!!!!


The original hardware which I was convinced would not work is back on the piece! I wish I had the space to have the 2nd hutch side by side to this one but for now, one will have to do! I guess Joe can have his workshop in the basement back until I find something else to paint!

Thursday, November 7

The Final Product...Chalk Paint Refinish!

so...what do you think!?! i love it!!!!

here are the before shots & the during shots from previous posts! 


Wednesday, November 6

the chalk paint remodel in progress!

this paint is awesome!!! here are the during shots! 


Monday, November 4

sprucing things up...chalk paint!

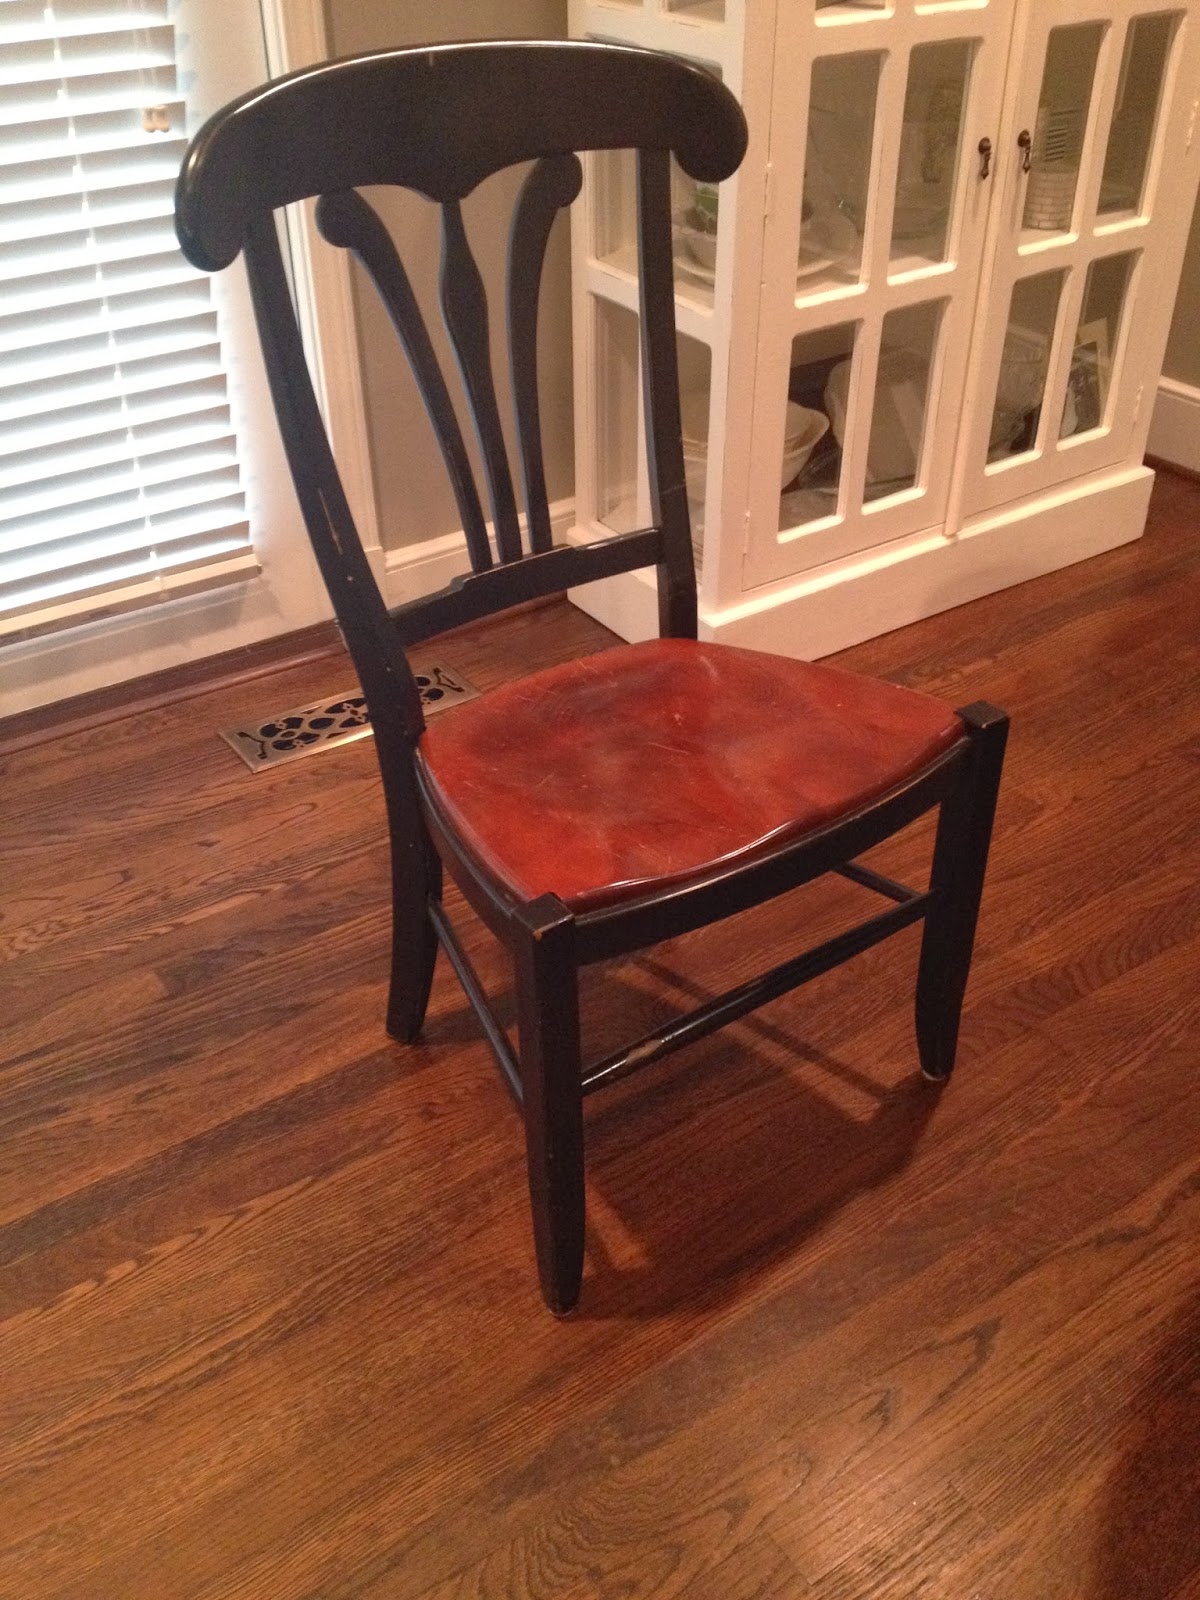
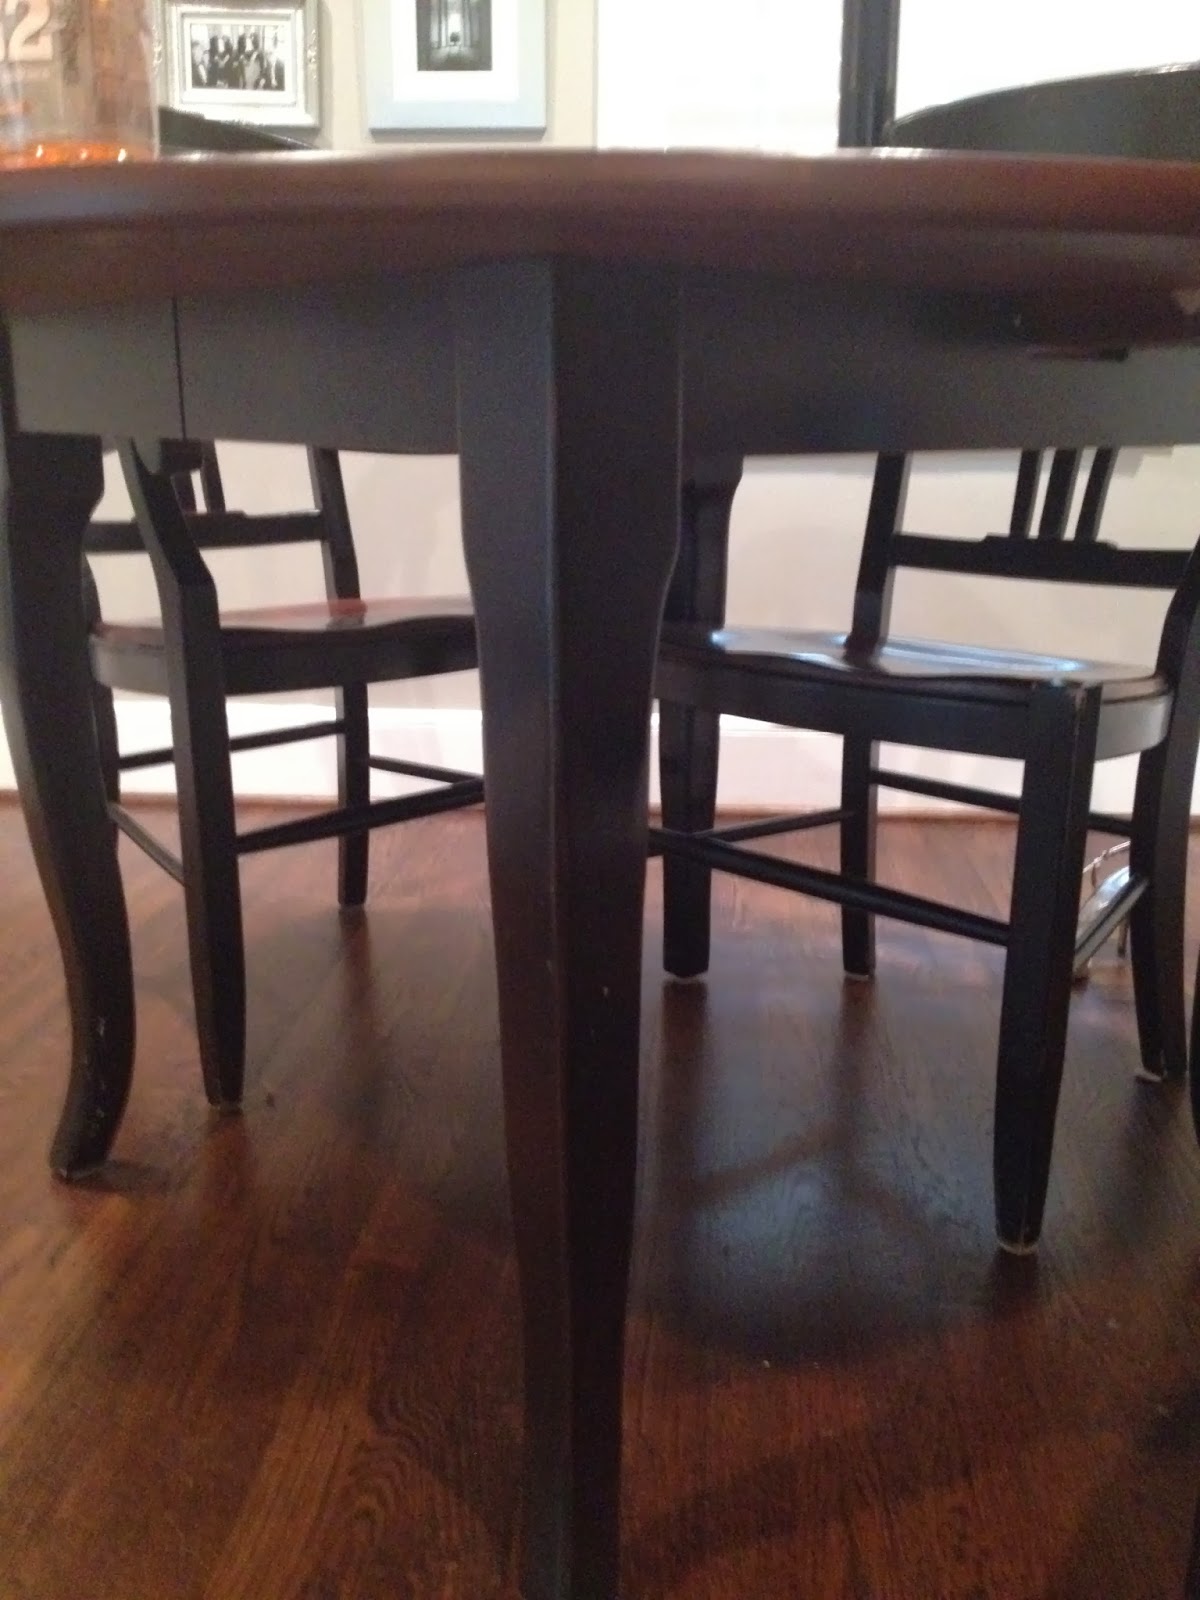
after discovering annie sloan chalk paint I am officially on a roll! our old kitchen & chairs have been repainted!!! the best thing about this paint is that in about 2 coats these chairs (black & in need of sanding & priming before latex paint). there is no primer or sanding needed...that saves the cost in both time & money on these extra steps! 

my sweet hubby took the chair seats off after seeing my horrible attempt at putting on that blue painters tape!

here are the before shots!